
THRIFTY IS NIFTY
Truth be told, this past October was not the first time our ornaments fell victim to a flood. Many years ago, there was a plumbing problem at the restaurant that flooded the basement and wiped out about half of the ornaments we had collected to that point. In a panic, we rushed out on Thanksgiving weekend and bought more ornaments that would eventually become some of our favorites. But we were buying "in season" which meant they were much more expensive than we would have liked.
After that Christmas, I decided to make it my mission to collect ornaments throughout the year at the lowest price possible... at yard sales. My mom and I loved to go tag-saling, and we both loved Christmas so it became a summer-long treasure hunt each year to find "new" ornaments for Dino's tree. And I'm so happy to tell you that one of Mom's picks for Dino's tree survived the flood. Way to go, Mom!
My mom passed away a few years ago, but I've kept up our tradition, now with my friend Michele. And just like Mom, Michele is well trained in what to look for, and has gotten really good at picking out just the right ones! I just counted the ornaments we bought this past summer and put them away for next year. We collected 36 ornaments this summer, which means our new grand total is now 111!
In my organizing frenzy between the holidays, I found a few other things Mom and I bought along the way but I never got around to fixing up before they'd be worthy of Dino's tree. Among them, some wooden mushrooms. Now, I'll admit, mushrooms aren't an obvious choice for Christmas, but my Mom LOVED mushrooms, so I thought she'd loved this project.
QUILT PAINTING
The simple, iconic shape of mushrooms makes them ideal for a treatment I call "Quilt Painting." Quilt painting started when I discovered Susan loves quilts. Trouble is, I can barely stitch a straight line, so I quilt with paint.
The process is really simple and incredibly relaxing, but it is a bit time consuming so I recommend if you're going to try this, have several small projects going at once so that as one thing is drying you can be adding more patterns to the next. I normally use this technique on small, three-dimensional objects, but of course, it should work equally well in 2D.
And of course, what you're seeing here is all Christmas-themed, but you can choose any pattern you like. Calicos, ginghams, plaids, checks, polka dots, stripes, etc., all work well so long as you keep the design simple enough to control in a repeat pattern.
There's not much by way of instructions for this. I think the visuals are self-explanatory, but here's what I do if you want to give it a try...
Cheryl
Elf in Charge of Making Ornaments
QUILT PAINTING
Medium: Acrylic Paint
MATERIALS
Acrylic Craft Paints in the colors of your choice
Objects to paint
TOOLS
Paint Brush
Trims and Ribbons as you see fit
HOW TO...
1. CREATE THE PATCHES. Start by lightly sketching in where you want the patches to go.
2. COLOR BLOCK. Paint the patches' background colors mixing and matching as you go to create a quilted effect. I keep it simple for Christmas - light red, dark red, light green, dark green, and white.

3. ADD PATTERNING. This is where the Christmas theme gives you an advantage because there are so many, well-recognized icons to choose from. I keep it simple - trees, wreaths, stockings, candy canes, snowmen, etc. And I try to keep the color choices simple for each pattern -- two or three colors per pattern at the most. Otherwise, you'll constantly be cleaning your brushes! And if all of this seems too detailed for you, you can achieve the effect equally well by alternating between patterns and polka dots or stripes.

And yes, this technique requires a steady hand, but here's the good news. With so much going on visually, no one will notice if you missed a spot or two... or ten... like I do! It's the overall effect of traditional quilting you're after here.
That said, if you're anything like me, when you're quilt painting you might find yourself obsessing over getting every dab of paint in the right spot. Funny enough, I think that's what makes this so relaxing!
AND A FEW MORE EXAMPLES...
 As I said, quilt painting is best done in batches, so while I was tending to Mom's Mushrooms, I dug out some old Easter trinkets (another tag sale find for 25 cents!).
Oh, and let me clue you in about something peculiar to our tradition. Like mushrooms, I realize bunnies aren't normally a Christmas icon either... except in Hoboken. In fact, you might say we're a bit bunny-obsessed in Hoboken. So get used to it. This will NOT be the last time you see bunnies in this blog.
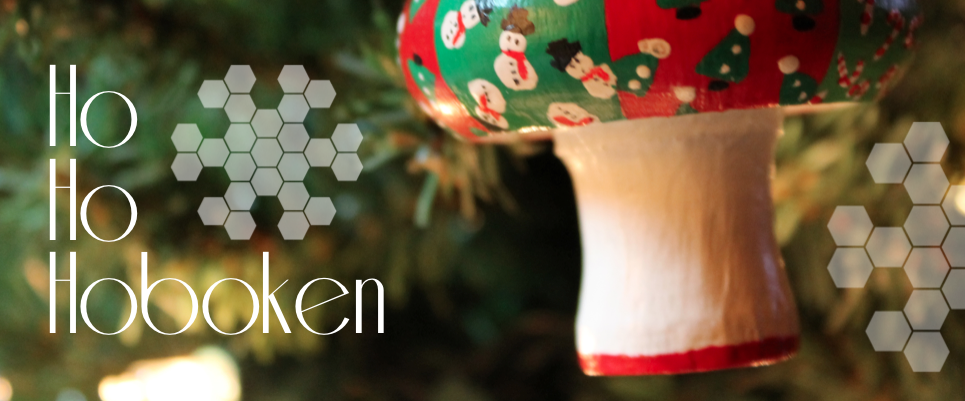
Ho Ho Hoboken, everyone!


Add seven more to our tally, and we're at 118 ornaments with more on the way! Ho Ho Hoboken!


